


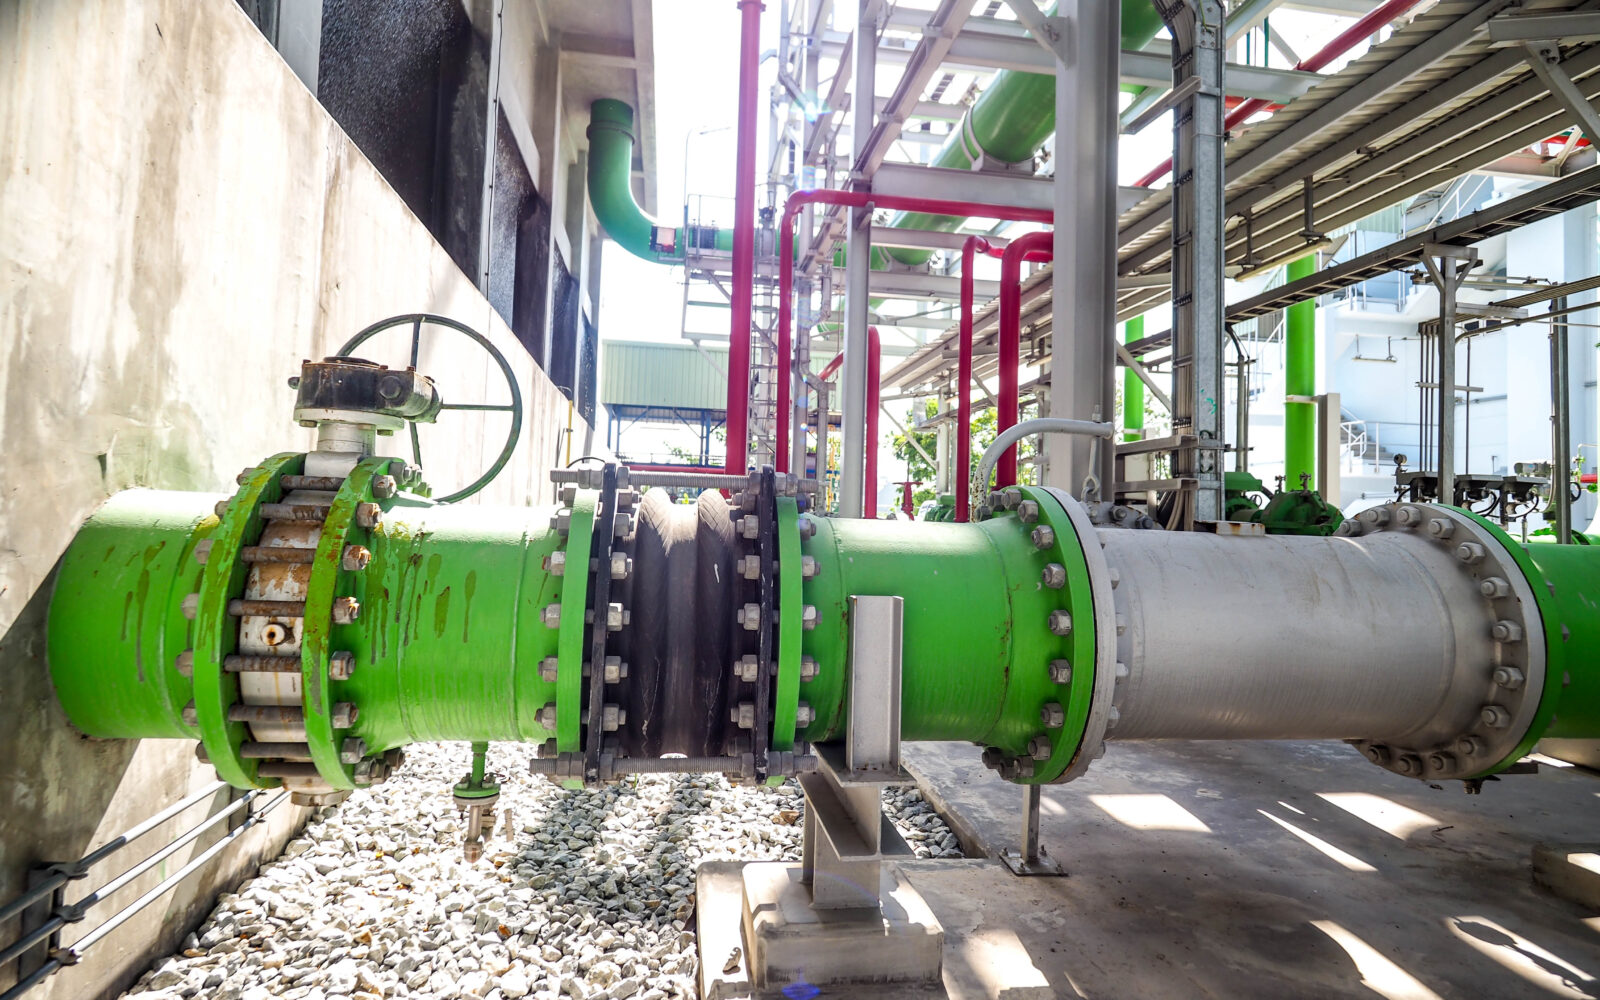
Achieving a leak-free flange connection is critical in industrial applications, where even minor leaks can lead to operational inefficiencies, safety hazards, and costly downtime. Proper preparation of flanges and bolts before gasket installation is essential to ensuring optimal sealing performance. Here’s what you need to know about best practices for gasket installation and flange preparation.
Flange & Bolt Preparation: The Key to a Secure Seal
1. Cleanliness
Before installing a gasket, it is crucial to ensure that the flange faces are clean and free from debris, rust, oil, or any imperfections that might interfere with the sealing surface. Use a suitable cleaning agent and inspect the flange faces for signs of warping, pitting, or damage that could compromise the gasket’s ability to create a tight seal.
2. Gasket Selection & Placement
Selecting the right gasket is essential for proper sealing. Factors such as pressure, temperature, and the type of fluid being conveyed must be considered when choosing between spiral-wound, full-face, or ring gaskets.
When placing the gasket:
- Ensure it is correctly centered between the flange faces.
- Avoid overlapping the gasket with the flange bore.
- If operating below 40°F (4°C), use a petroleum-free silicone lubricant to enhance sealing performance.
Flange Installation Guide: ANSI Flange Installation Steps
Following the correct flange installation process is critical to achieving a secure, leak-free connection. Below are the step-by-step instructions for properly installing ANSI flanges.
1. Bolt Installation
- Bolt Insertion: Insert bolts evenly around the flange to maintain balance.
- Lubrication: Apply an anti-seize compound to bolt threads and nut surfaces, especially for stainless steel fasteners, to reduce friction and ensure accurate torque readings.
- Hand Tightening: Begin by hand-tightening bolts in a cross-pattern sequence to apply even pressure before torqueing.
2. Torquing for a Secure Fit
Using a calibrated torque wrench, follow a systematic tightening process to ensure even pressure distribution:
- Initial Tightening: Tighten bolts in a cross-pattern sequence to the manufacturer’s recommended torque values.
- Torque Stages:
- Stage 1: Tighten bolts to 30-50% of final torque.
- Stage 2: Tighten to 70-80% of final torque.
- Stage 3: Tighten to 100% of final torque.
- Stage 4 (Final Check): Recheck all bolts at full torque to ensure even clamping force.
- Re-Torquing: After initial pressurization, some manufacturers recommend re-torquing bolts after 4 to 24 hours to accommodate gasket relaxation.
Additional Considerations for Flange Installation
- Flange Alignment: Ensure the flanges are properly aligned before tightening bolts. Misalignment can cause uneven stress distribution and leaks.
- Proper Support: The flange and connected piping should be adequately supported to eliminate undue stress on the assembly.
- Bolt Material & Size: Use bolts that are appropriate for the system’s pressure and temperature conditions, ensuring compatibility with the flange rating.
- Environmental Factors: Consider temperature fluctuations and exposure to chemicals that may affect gasket material properties.
- Torque Wrench Calibration: Regularly calibrate your torque wrench to maintain precise torque application and prevent issues caused by over- or under-tightening.
Ensuring a Leak-Free System with Proper Preparation
By thoroughly preparing flanges and bolts before gasket installation and following ANSI flange installation best practices, you can achieve a secure and reliable seal. Adhering to these guidelines minimizes the risk of leaks, reduces maintenance costs, and extends the lifespan of your flange connections.
For expert advice on gasket selection and proper installation techniques, contact Hampton Rubber today. Our team is ready to help you achieve the best sealing solutions for your industrial applications.